Don't be fooled. Inside this thin coating of sweetness is a fiery core of total insanity.

Thursday, December 15, 2011

What I Made Today With Portland Cement

Actually, with stepping stone mix from the craft store.


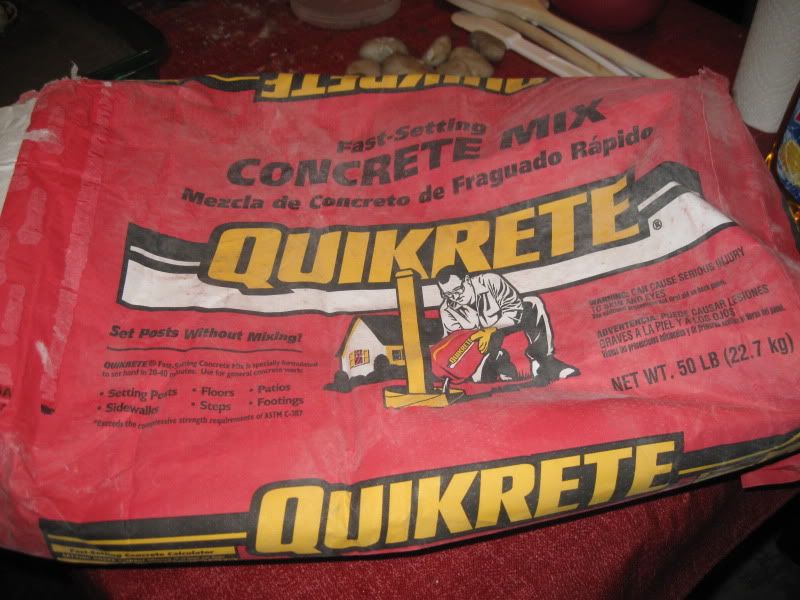
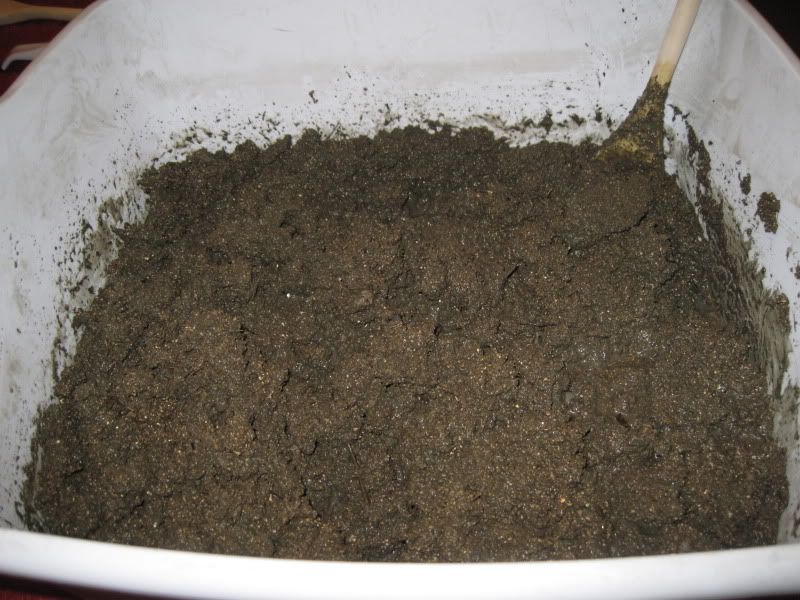
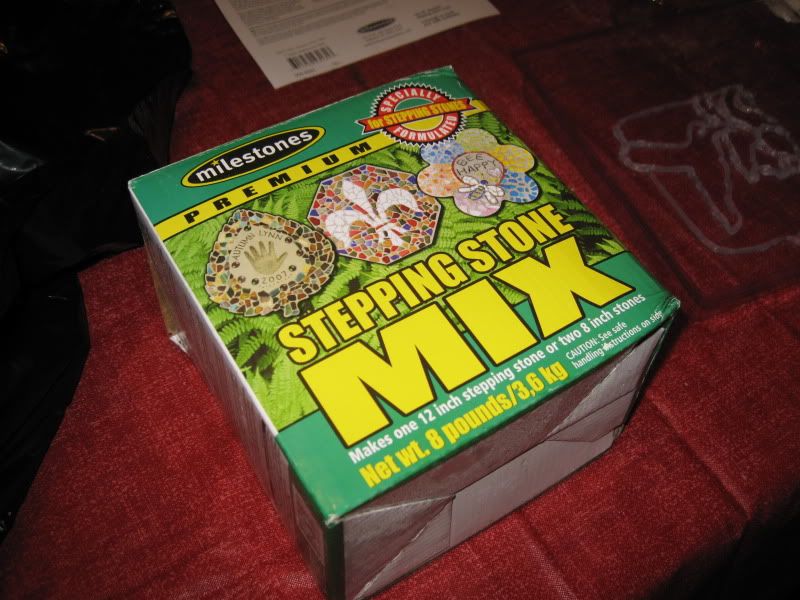
I did manage to drag Nigel to Lowe's to pick up two 50-lb. bags of cement, but I also had a couple of packages of stepping stone mix, so I thought I would start out with some small projects first and see how they went. This mix is a combination of silica sand and Portland cement (I wore a dust mask when I mixed it).

I've been scouring the Internet lately for interesting craft projects, and ideas for things to make with cement. Actually, I've been on Pinterest, checking out lots of craft projects, and this one caught my eye. Making lace ornaments with Sculpey clay.

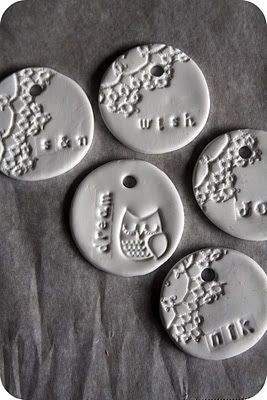
Not my photo, it belongs to the blog Whimsy Love

I wanted to try to adapt it for making ornaments with cement.


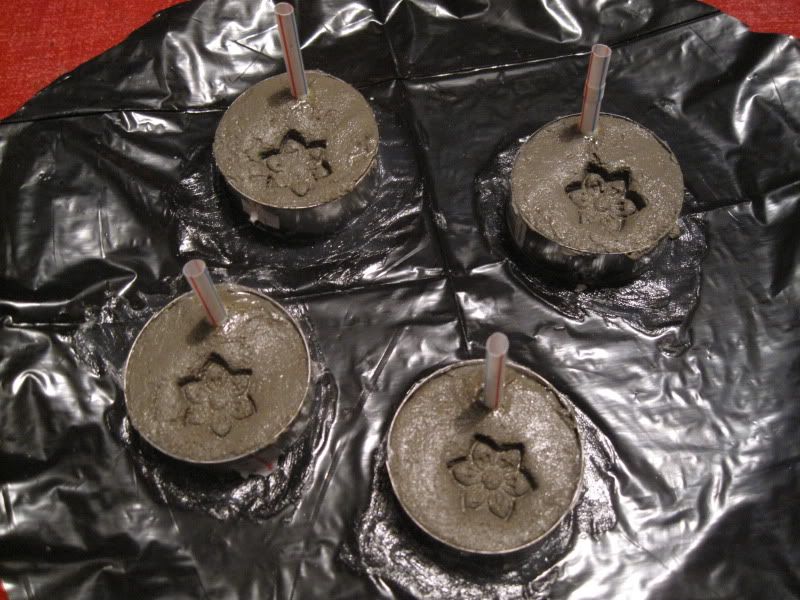
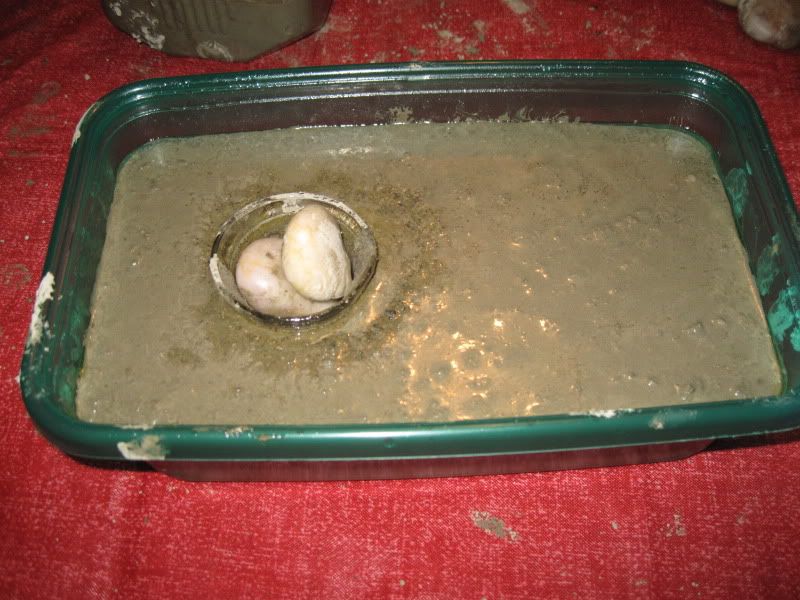
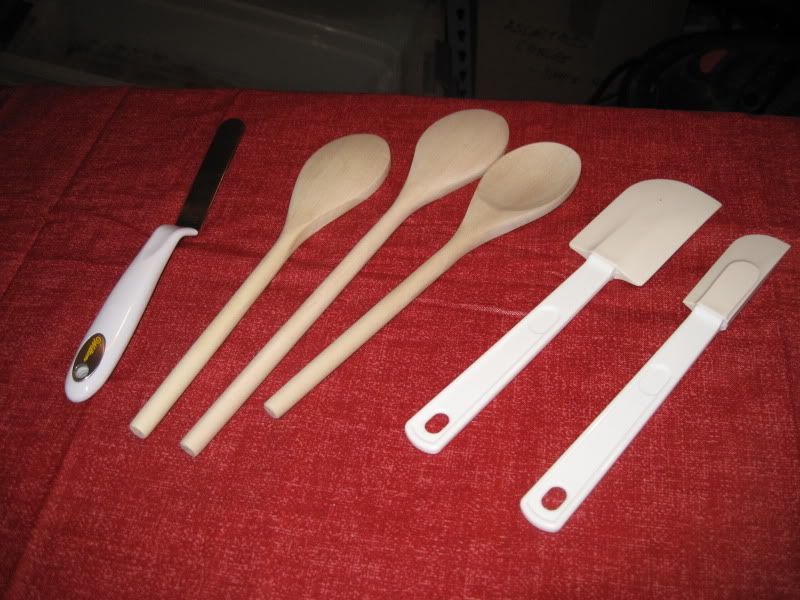
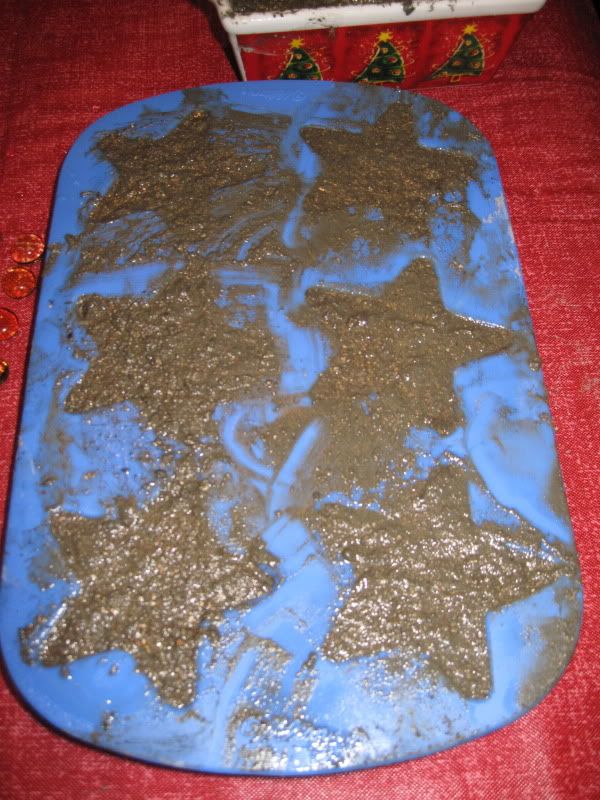
I poured/pressed the wet cement into round metal cookie cutters that I had smeared Vaseline all over as a release agent. I also put Vaseline on the plastic under the cookie cutters, and then pressed them into it, to keep the cement from oozing out under the metal ring.

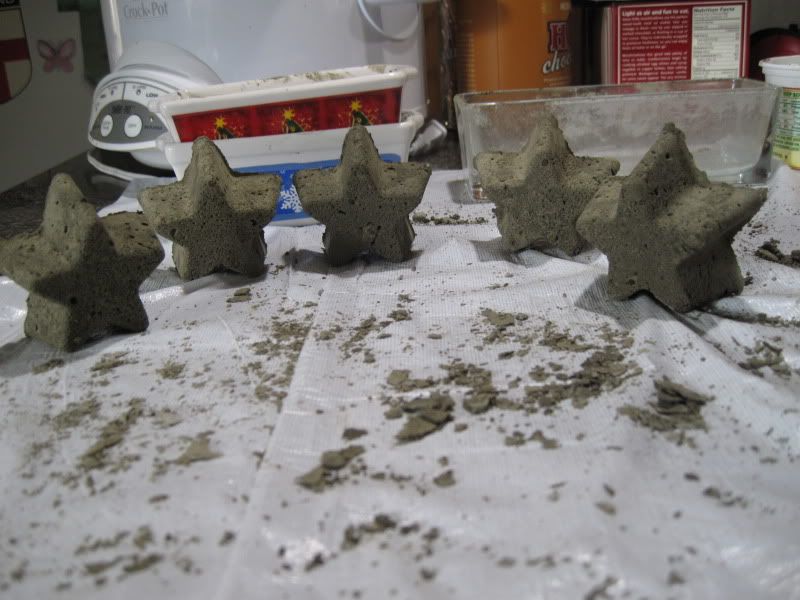
Unfortunately, I couldn't get the lace to make a good impression in the cement. So I just used a straw to make a hole for hanging and then pressed a flower stamp into it (the flower stamp was designed for making impressions in stepping stones). When they dry I hope to maybe hang them from my trees.

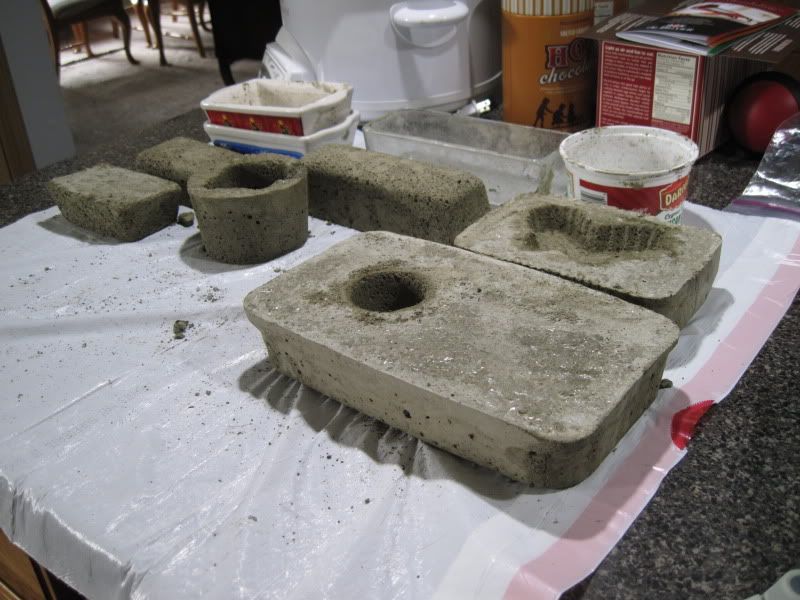
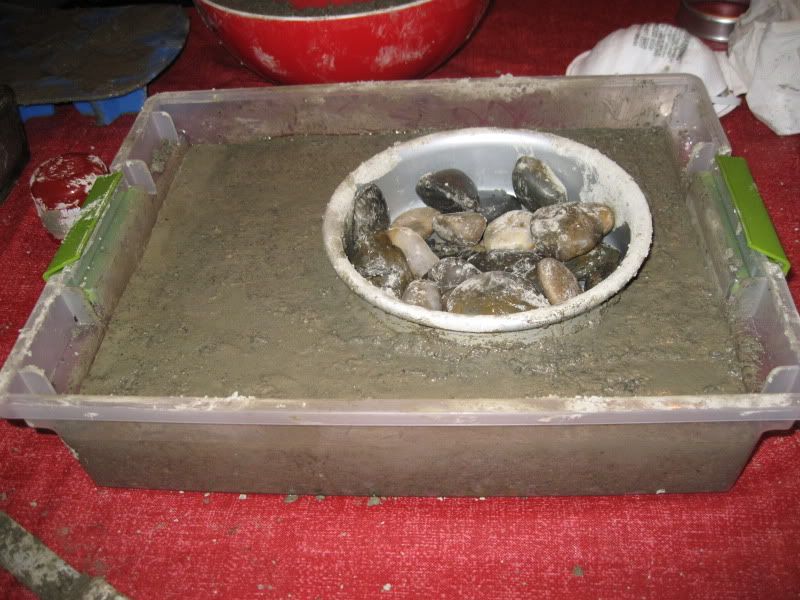
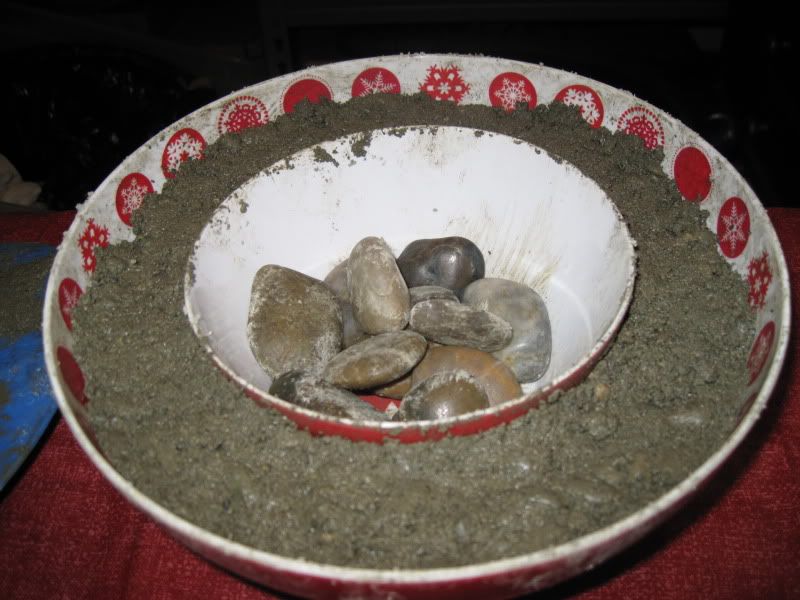
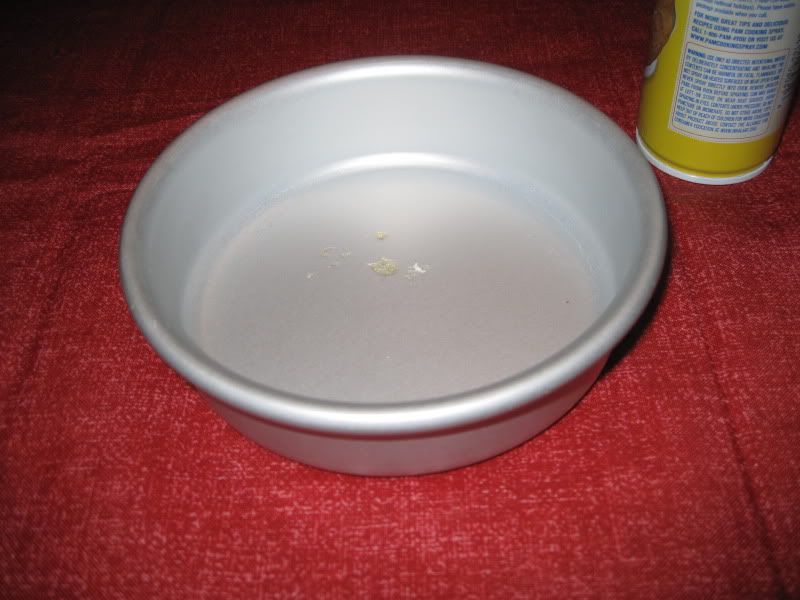
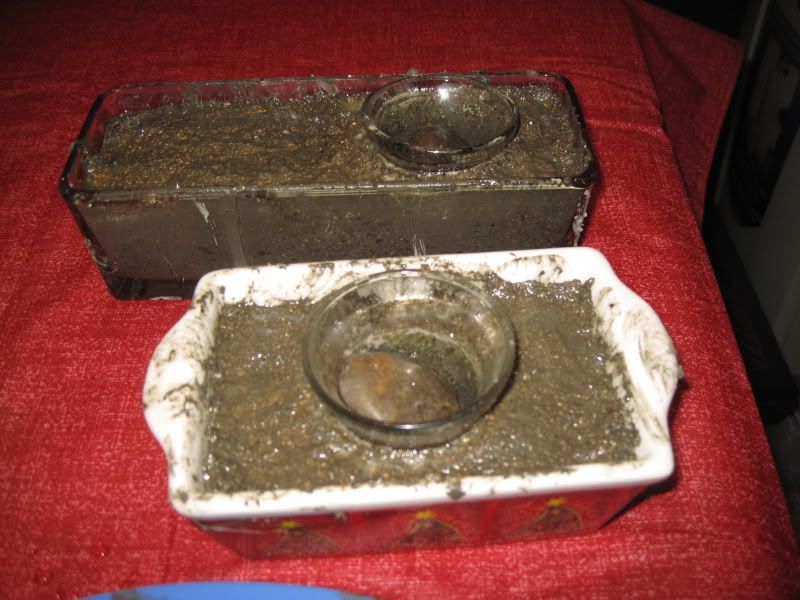
I also made some small stepping stones with small food storage containers.


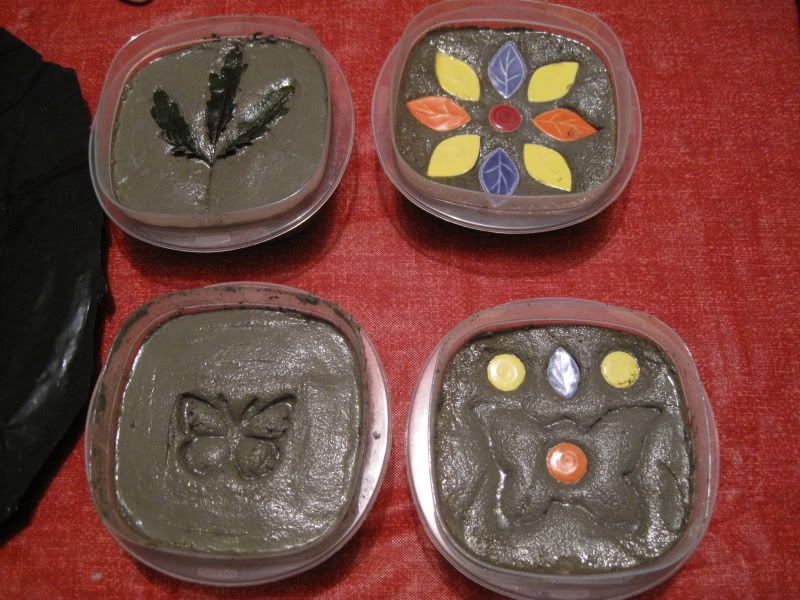
The little butterfly shape on the left was a stepping stone stamp, and the one on the right was made using a butterfly-shaped cookie cutter. The little circle and leaf mosaic pieces came from the craft store, and the leaves came from a house plant (a false Aralia).

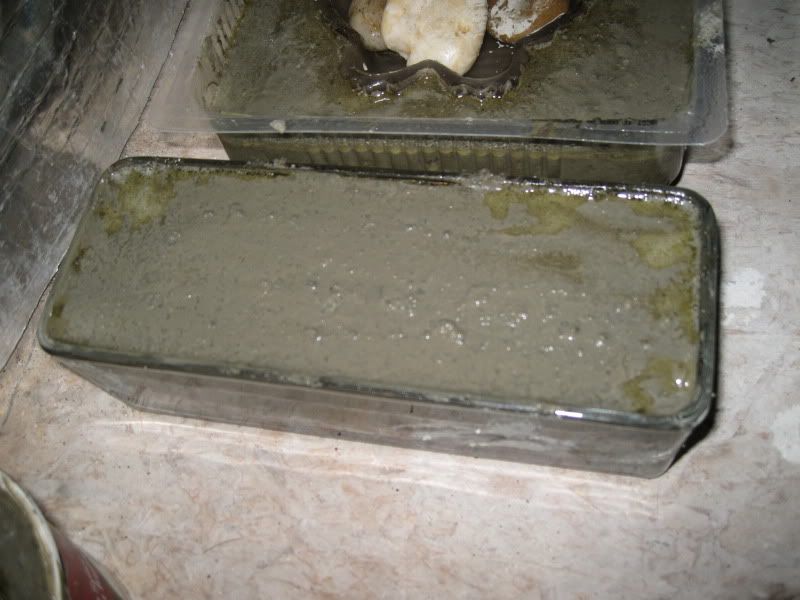
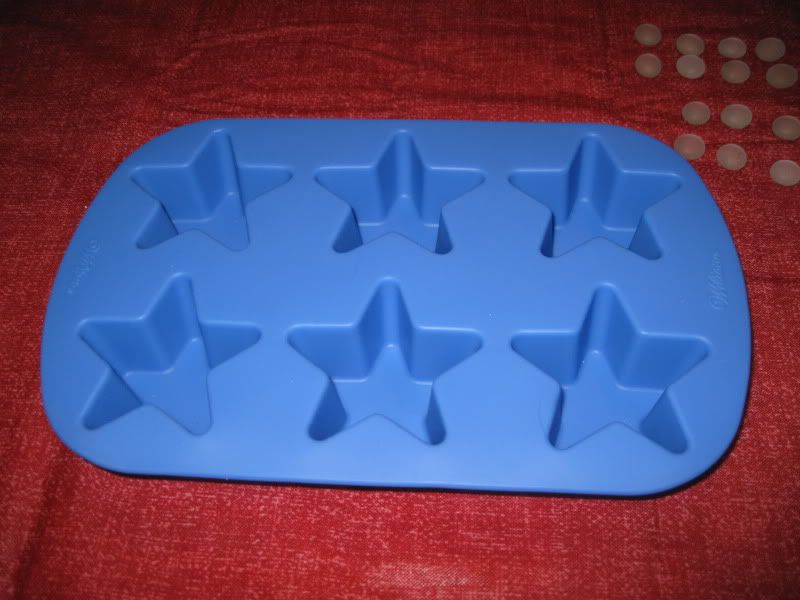
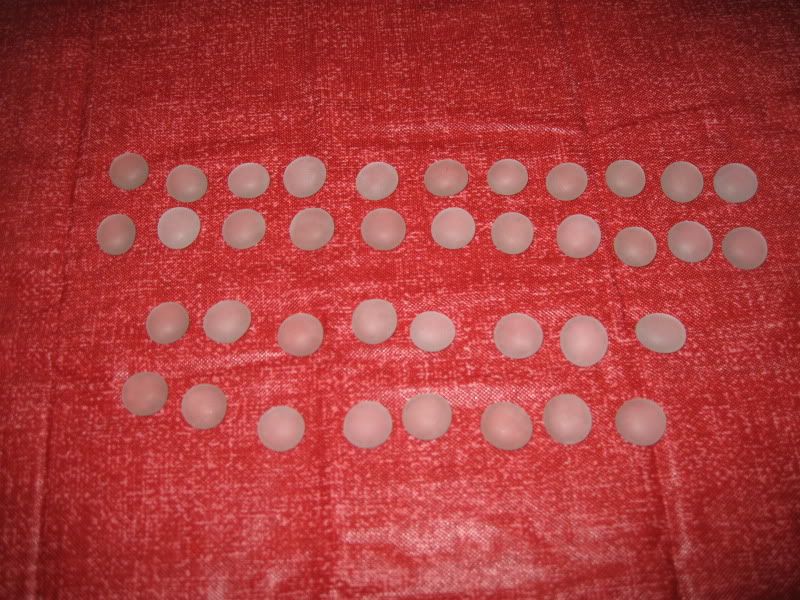
I used some soap molds to make cement medallions. Here's what they look like filled with cement.

You can probably tell that one in the middle is a fleur-de-lis.

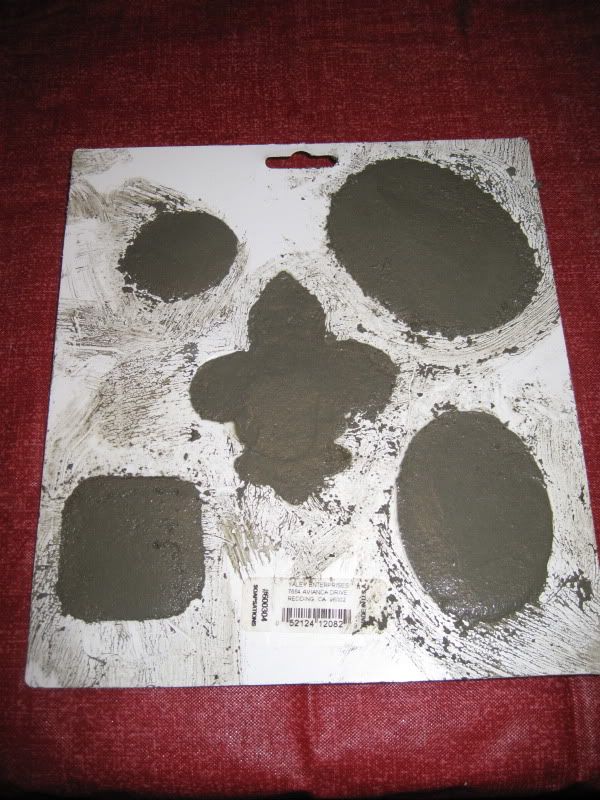
Here's what it looks like on the other side. I had to call Nigel in from the other room to hold it up, I had forgotten to get a picture of it before I filled it.

Sorry it's such a bad pic, it was hard to get the light right and to get a good angle.

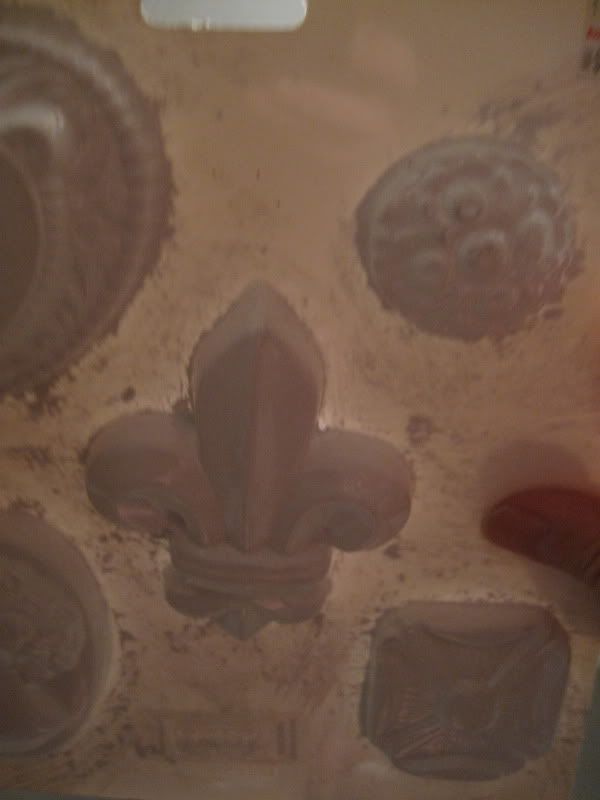
Close-up of the fleur-de-lis

One of the round shapes is a cameo

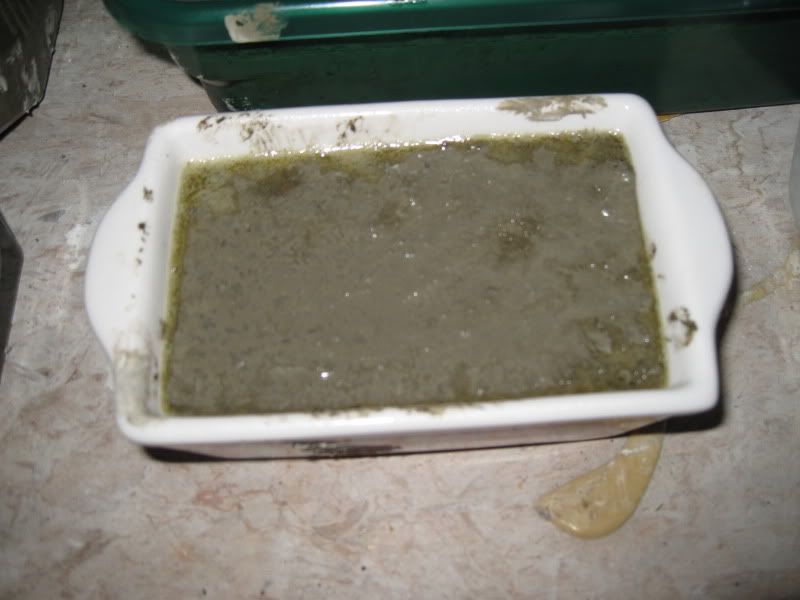
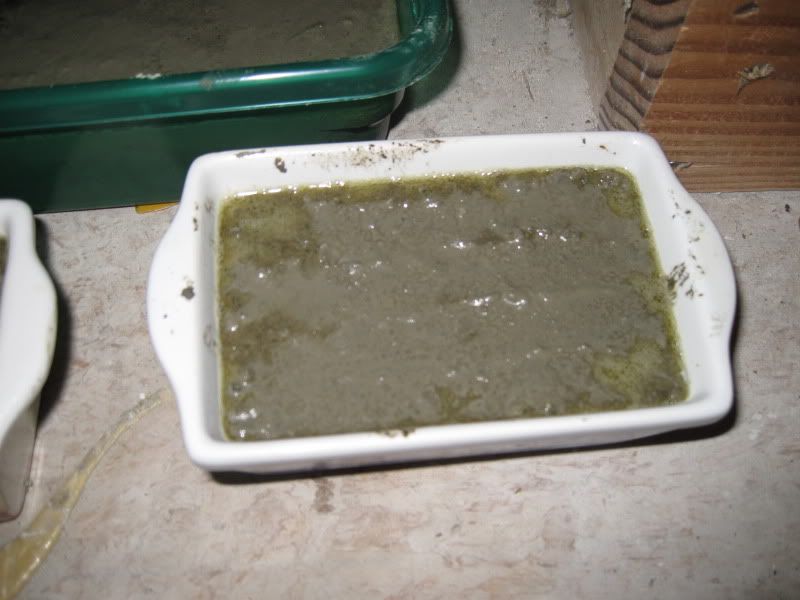
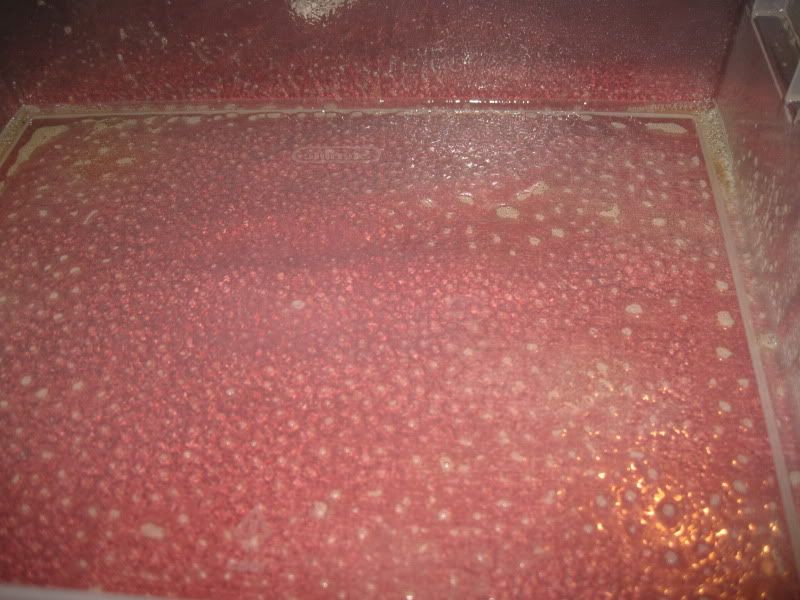
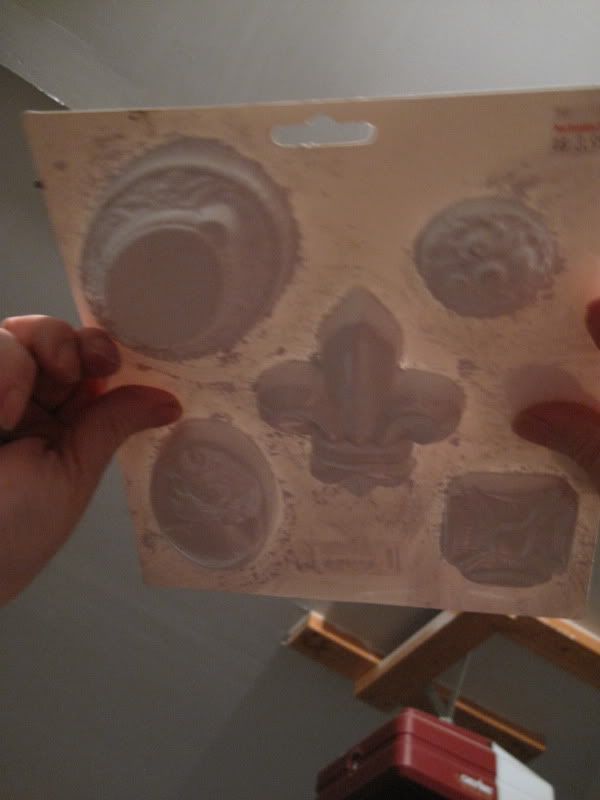
Another tray of soap molds

I hope some of this detail comes out in the cement.

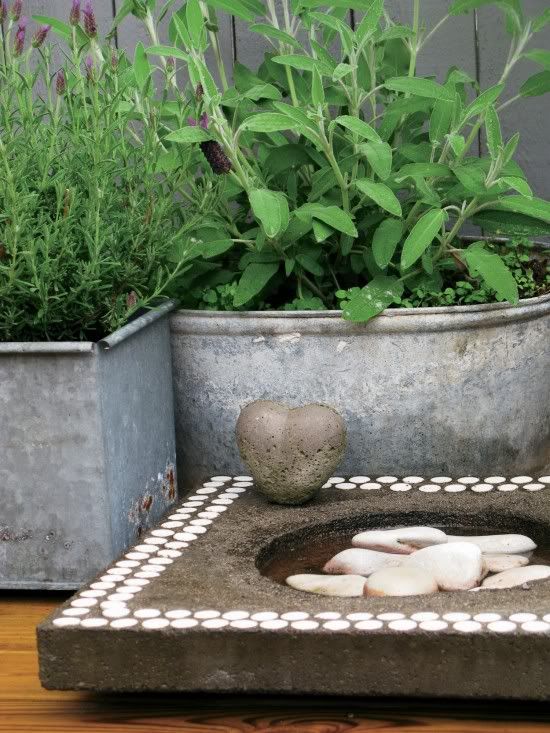
I plan to use the medallions on cement pots, which I haven't even made yet. Wishful thinking, I guess.

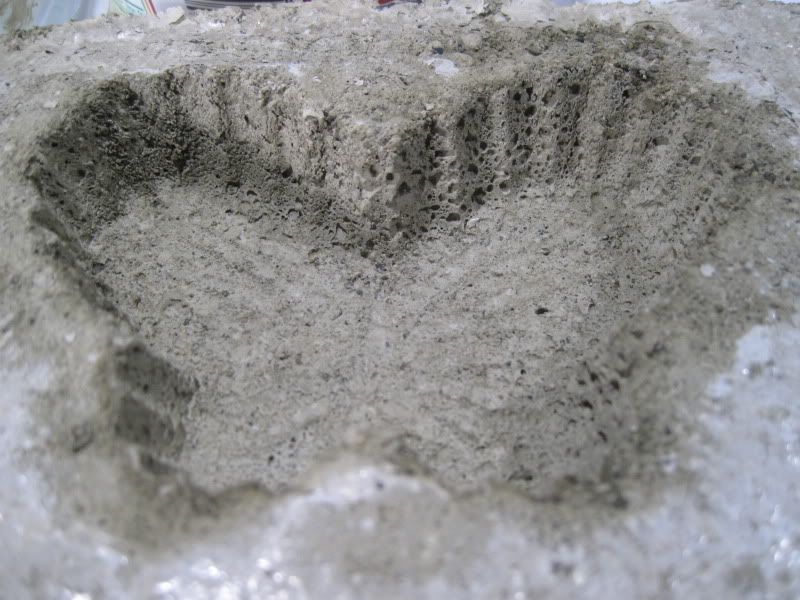
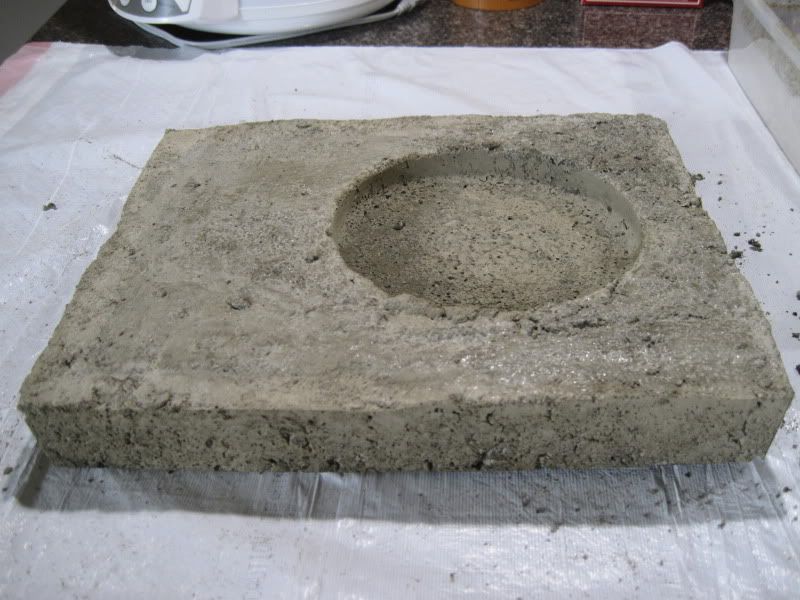
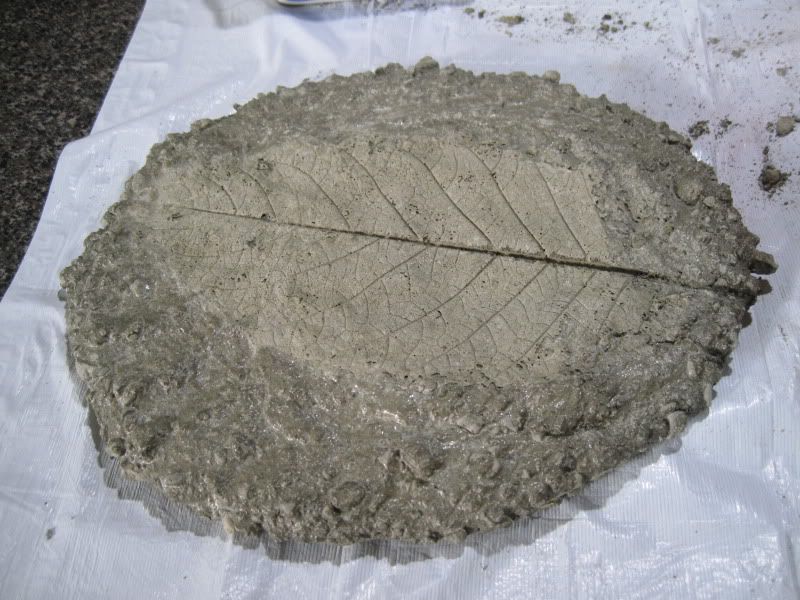
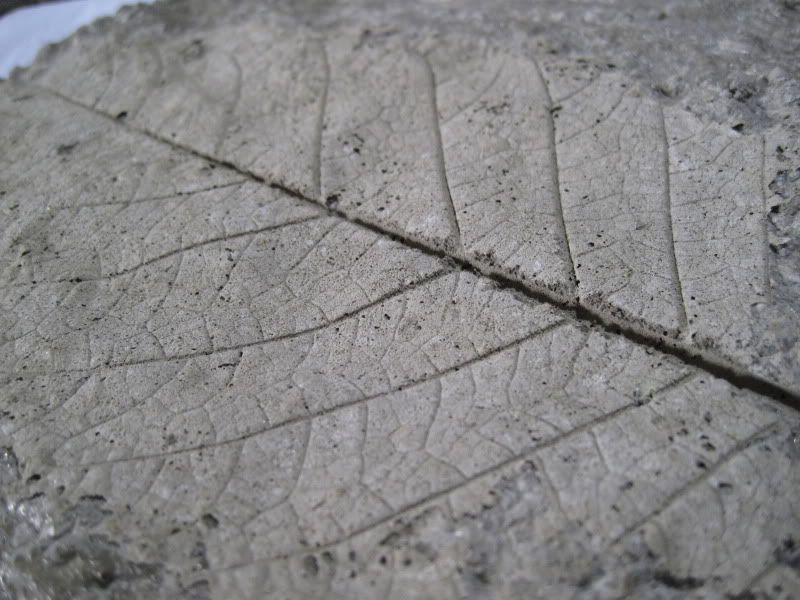
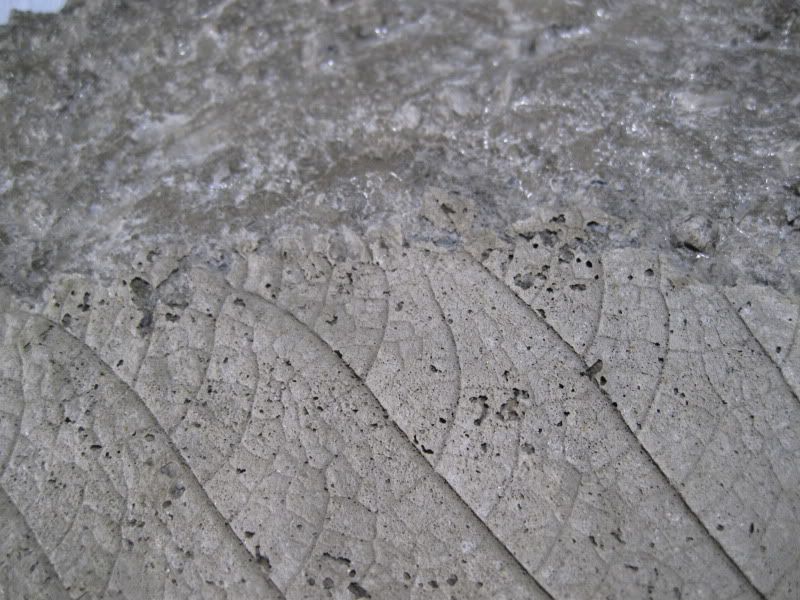
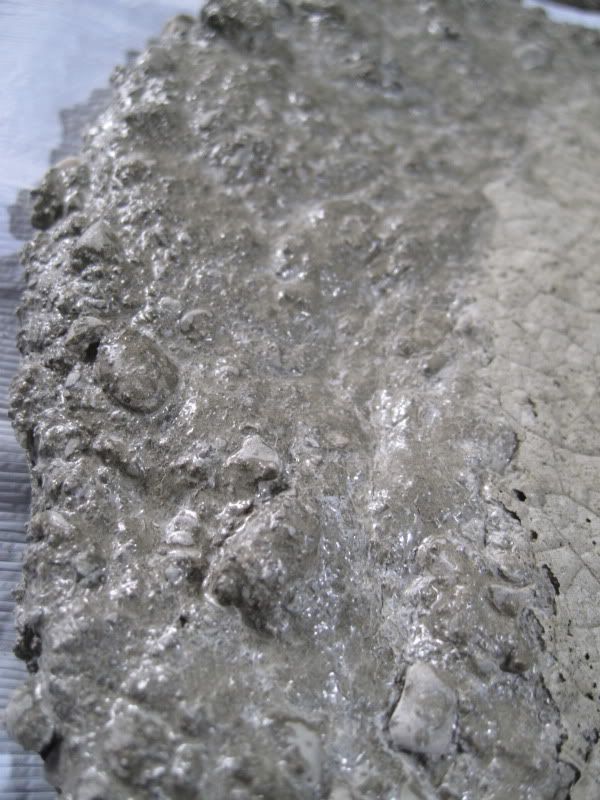
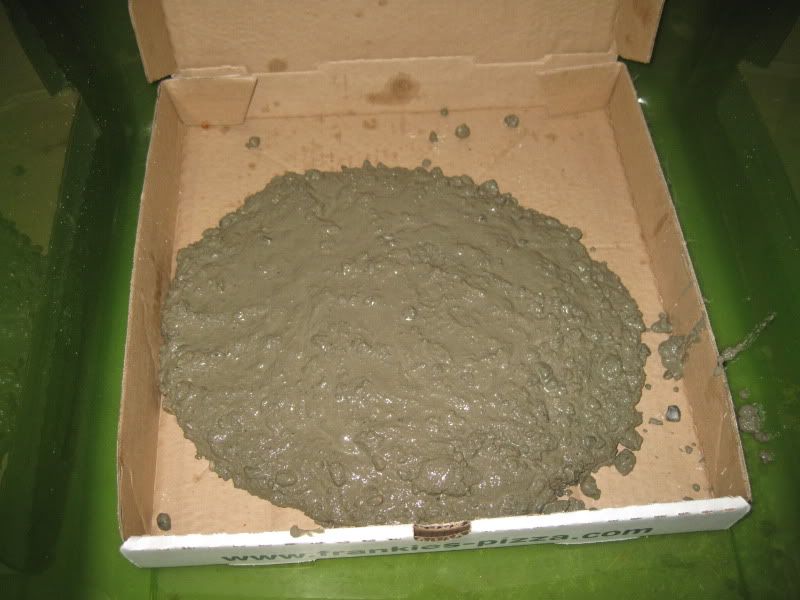
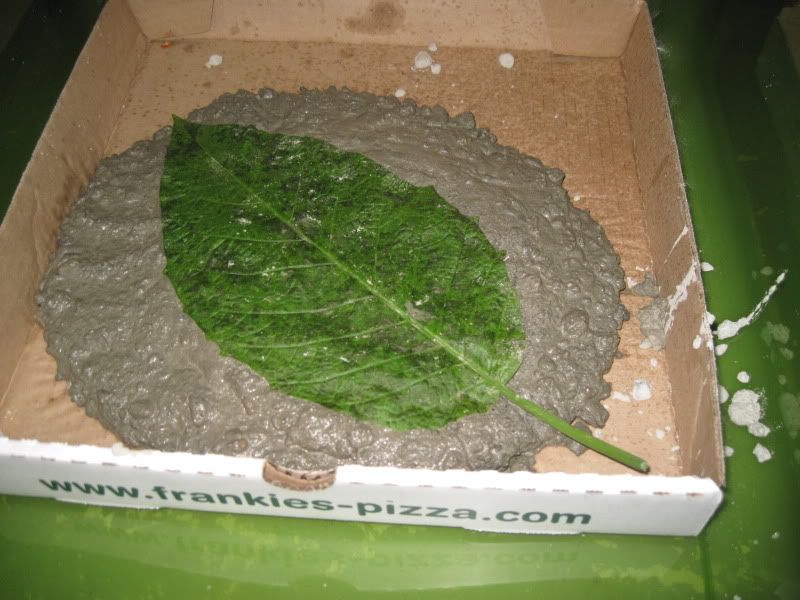
And of course, my final project with this batch of cement was the inevitable lump of cement in a pizza box, with a leaf impression.


I didn't realize the cement would retain so much of its shape when patted out into a circle. I may try making more small hanging ornaments without the cookie cutters, just patting them out into small rounds.

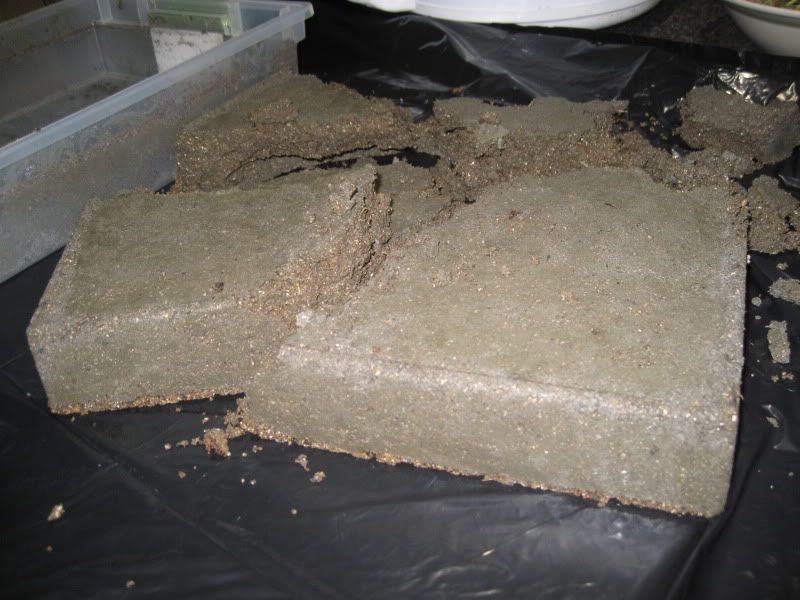
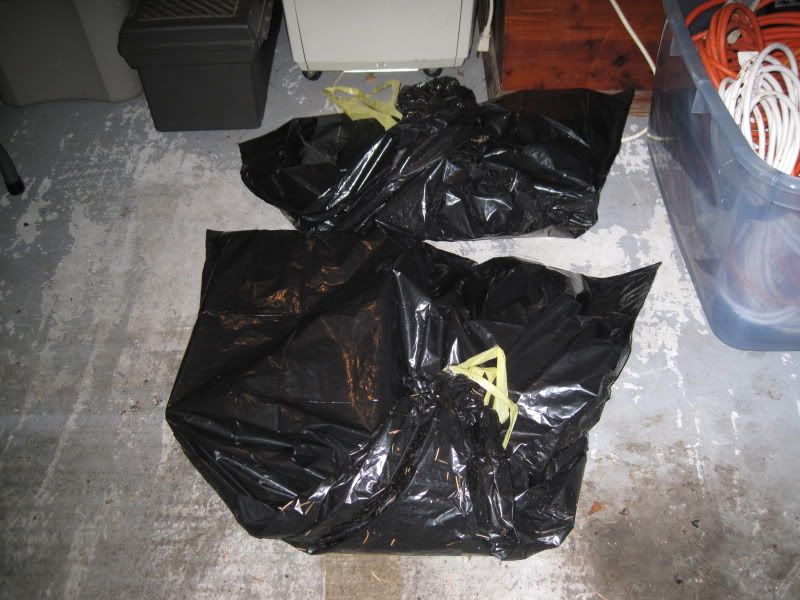
They are now hanging out in the garage wrapped in plastic to slowly cure, along with my previous concrete projects.  I better make sure I can still fit the car in.

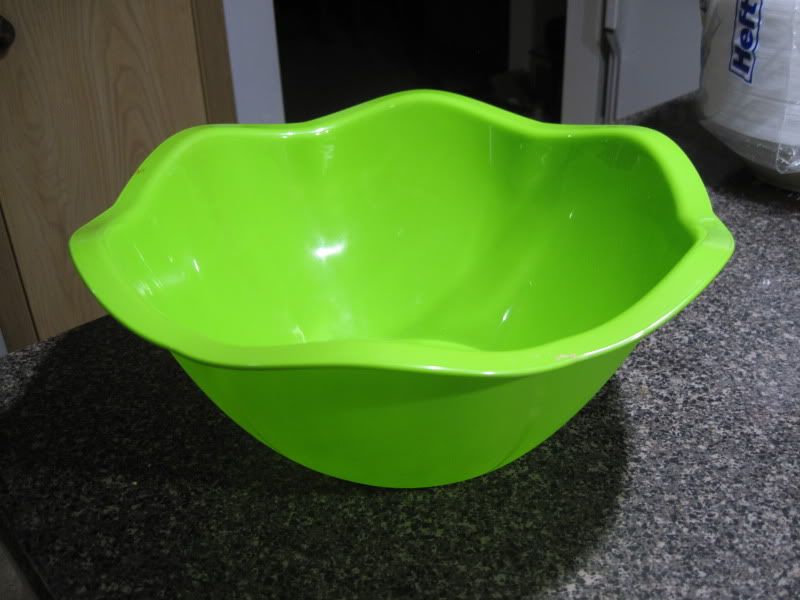
I've been scouring thrift stores lately, looking for good bowls to make molds/pots. Here are some that I found for quite cheaply, between $1.99 and $6.99.

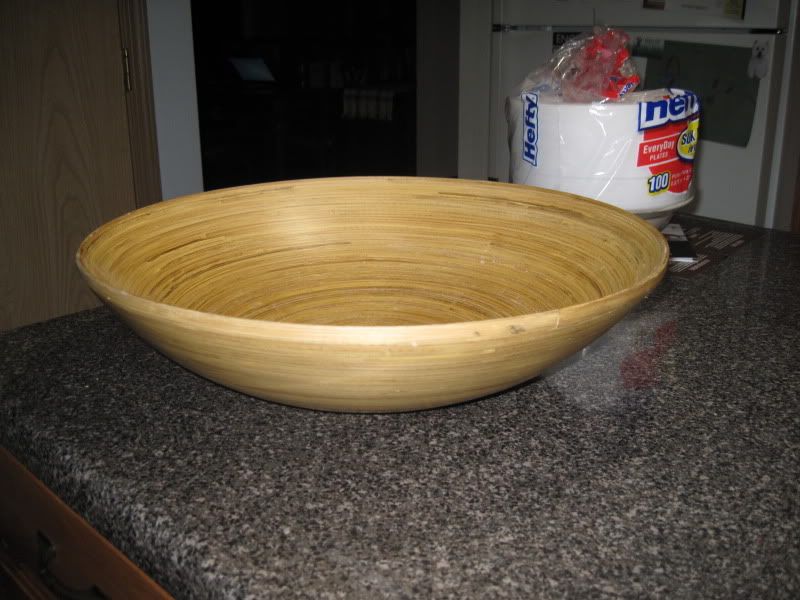
I think this basket/salad bowl will make a great hypertufa succulent bowl!

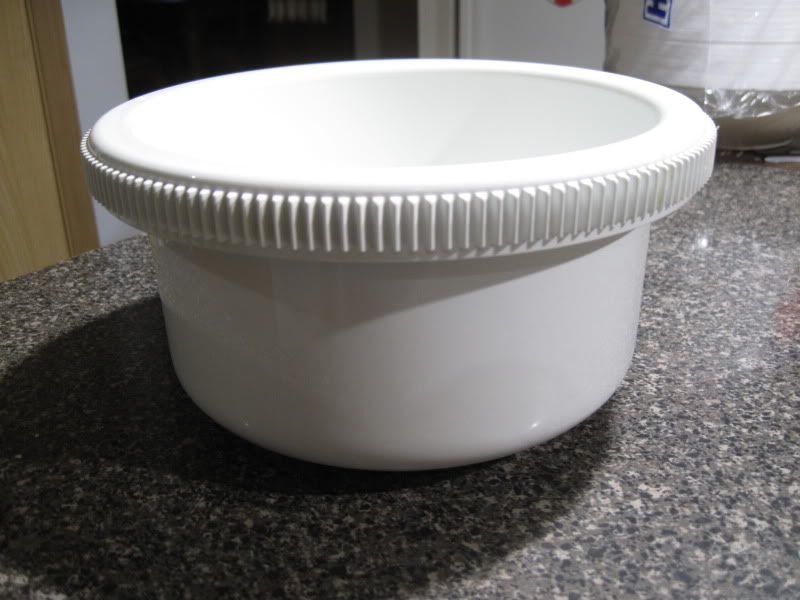
This one has great vertical sides for showing off all those medallions!

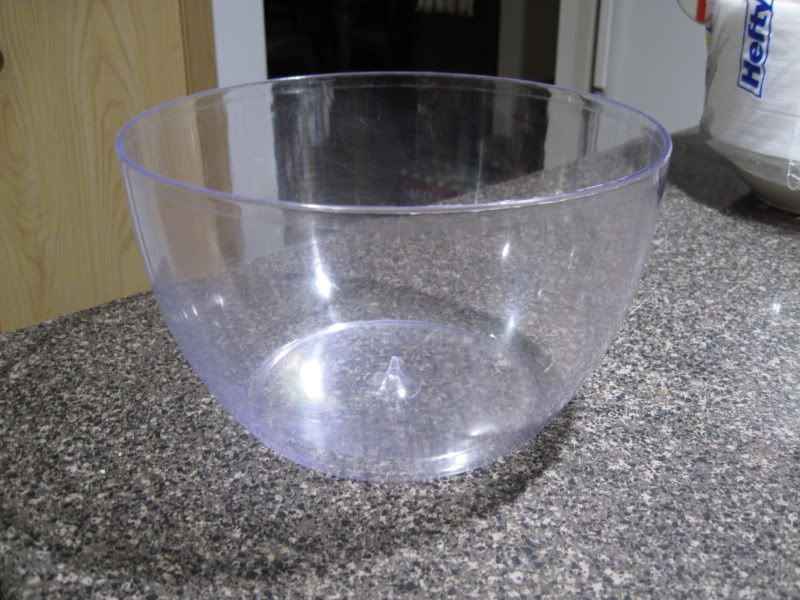
This is the bottom half of a salad spinner. The spinner mechanism no longer worked, so now I have a colander for the kitchen, and this for making pots. Two for the price of one!

I couldn't pass this up -- it's a great mold for another cool succulent container!

In a couple of days my projects will be ready for unmolding. I'm feeling much happier about this bunch!

******************

Have you heard of Pinterest, by the way? It's another way to waste time on the web. This link should take you to my Pin Boards.

Saturday, December 10, 2011

Concrete Results

Yesterday I unmolded all the concrete things I made earlier this week, that I posted about here. I left everything in plastic bags for three days. The instructions say you only need two, but I decided to give things an extra 24 hours. I started with the ones that I had made with the concrete that I added more water to.


Surprisingly, they did not crumble into dust, and the molds released them quite easily. They did produce quite a lot of dust, and a few chunks did come off them as well, in spots.

This little pot with a square hole lost a chunk off the rim when I took the square bottle out that made the impression.

And two of the bricks lost chunks off their corners.


I don't really like that Swiss cheese texture. Even though these were made with the much more runny mix, they still have lots of these holes.

One of the bricks had a butterfly-shaped mold pressed into it. You can see the butterfly shape, but it's crude and rough-edged. I really want something that allows for details to show more.


And the one that I made with the drier mix that I pressed a deep glass leaf-shaped bowl into didn't come out showing much detail either.

Can you tell this is a leaf shape?

The container that I made that was a plain bowl looks like just a lump of concrete.


The edges are really rough.


There is a small void in the bottom of it. I might have avoided this if I had really shaken the container and maybe poked it with a stick, but actually I just think the mix was so dry that nothing would have helped.


I made one star with the dry mix.


And then I made five more with the wetter mix.


Here's the small birdbath. It might look better once I adorn it a bit.


Here's the picture from the book Concrete Garden Projects that I based this birdbath on.


Interestingly, the project that I like the best is the throwaway one that I made at the end when I was just trying to use up the rest of the mix -- the lump of concrete in a pizza box.


You can see the veins from the leaf that I pressed into it.

But the leaf edges aren't so hot.

There is one thing that I am confused about. Many of the items are shiny where the concrete touched the air. (They were all wrapped up in plastic bags.) I'm not sure what's going on there, but I don't like the shininess.


Thanks to everyone for your encouragement! You have no idea how very much I appreciate it. Despite my tone of unhappiness with this batch of projects, I am actually pleasantly surprised that they didn't all crumble to nothing. I'm not sure what I'll do with them when they are finished. They are all wrapped up again in black plastic bags, and I intend to mist them every day to keep them in a humid environment. According to concrete "lore" that is the best way to make sure they cure and become as hard as possible.

Next up: Portland cement. I think that might be a better medium for the detail I want in the molds. So I am off today to Lowe's with the husband to buy some. Maybe I better take advantage of him, and get two bags. I'll ply him with coffee and a cookie.

Tuesday, December 6, 2011

My Hypertufa Projects -- Part Two and Beyond

Have you been waiting with bated breath to see how my hypertufa projects came out?

On Sunday, this is what happened when I tried to unmold the birdbath.

Total Structural Discontinuity!

I don't know what went wrong. It didn't break, it just crumbled to pieces, looking much more like just plain damp peat moss than anything else. I was a bit worried that I had used too much water. I've read that less water is better, it makes for a stronger bond with the Portland cement. However, it is also true that I ordered this mix ready-made, so I don't really know what the proportions of Portland cement to peat moss and vermiculite were. All of the others crumbled in exactly the same way, so into the trash they went!

Aw -- pause here so you can all make a sad face with me...

Anyway, I immediately roped my husband Nigel into accompanying me to Lowe's, where he very kindly hoisted a 50-lb. bag of Quikrete concrete into the car and then into the garage for me. I swear there were about 10 or 20 different kinds of concrete, all in different colored bags and all saying fast-setting. I couldn't figure out what the differences were, and I didn't want to stand there in Lowe's reading each bag to figure it out. I like red so I picked that one.


Here's the problem with getting a 50-lb. bag -- the instructions say to add a half-gallon of water to the entire contents and mix. But how much can you make with 50 lbs of concrete? A lot! I didn't really want to mix all of it up, but I couldn't figure out how much water to add to, say, 4 measuring cups of mix. Have I mentioned that math is not my strong suit?

So I gathered up all the molds I could, and mixed up the entire bag. I redid the birdbath.


A few days ago at the thrift store I found a cute little glass bowl shaped like a leaf, with the veins on the outside of the bowl. Perfect for making a deep leaf impression!


Then I made a concrete bowl. I put a layer on the bottom and then put that smaller bowl inside the larger one, and then tried to smush the concrete in around it. It ended up a little off-center, and was very messy work. You know how much of a mess you make when you repot a plant, and have to try to fill all around the root ball of the plant with new soil? And it gets all over whatever surface you're working on?

Does it look dry to you?

The mix seemed very dry to me. It was more like wet gravel than the concrete that I think of as pouring out of a concrete truck or in a mixer. But I left it as it was in those three molds, and added a little more water to the rest that was in the bin where I had mixed it up.

Unfortunately, at this point I think I added too much water. It ended up very runny.

I made this, which will hopefully turn out to be a cute pot with a square center.


And then I made a big brick with a votive in it.


My plan originally was to use letter blocks to make words in the brick. I wanted to use a quote from a Dylan Thomas poem.

"The force that through the green fuse drives the flower."

But when I pushed the letters into the mix, and pulled them out, the mix just slumped back into the space. So I gave up on that, and just made bricks. I had originally planned to break up the poetry quote into chunks, and put them on each brick.

A big brick

And a small brick

And another small brick

And I still hadn't used all the concrete. So I made a lump in a pizza box.


I went back a little while later and pressed a Brugmansia leaf into the lump.


I'm feeling a little discouraged. All the websites with cool concrete projects make it look so easy. It hasn't been, at least for me. It takes some learning, and refining.

In another two days, I'll know how successful today's experiments were. Keep your fingers crossed for me.

Here's the entire Dylan Thomas poem.

The force that through the green fuse drives the flower
Drives my green age; that blasts the roots of trees
Is my destroyer.
And I am dumb to tell the crooked rose
My youth is bent by the same wintry fever. 


The force that drives the water through the rocks
Drives my red blood; that dries the mouthing streams
Turns mine to wax.
And I am dumb to mouth unto my veins
How at the mountain spring the same mouth sucks. 

 
The hand that whirls the water in the pool
Stirs the quicksand; that ropes the blowing wind
Hauls my shroud sail.
And I am dumb to tell the hanging man
How of my clay is made the hangman's lime. 


The lips of time leech to the fountain head;
Love drips and gathers, but the fallen blood
Shall calm her sores.

And I am dumb to tell a weather's wind
How time has ticked a heaven round the stars. 


And I am dumb to tell the lover's tomb
How at my sheet goes the same crooked worm. 


It's a bit morbid, isn't it? It suits my pessimistic feelings about today's concrete endeavors.

Friday, December 2, 2011

My Hypertufa Projects, Part One

Well, I did it. I put on my big girl panties this afternoon, set up a folding table in the garage, and took a stab at making stuff with hypertufa. I decided to work in the garage because although we don't have any snow, it has been rather cold lately, with temps barely making it into the low 40s.


I've been gathering supplies for a while. My plan was to make a rectangular birdbath, similar to the one from the book Concrete Garden Projects.

This one is square, but I decided to make mine rectangular, and to offset the circular birdbath depression.

I started with buying some hypertufa mix from Dirt Couture. Concrete and Portland cement comes in 50-lb. bags at Lowe's or Home Depot, but I didn't want to bother trying to wrestle with that kind of weight. It was just easier to order a 7-lb. bag.


Hypertufa, sometimes just called tufa, is a mix of Portland cement, vermiculite and peat moss. When mixed with water and then molded into forms like troughs, it looks very much like a natural limestone rock called tufa. Natural tufa can be drilled into and used for rock garden plants. Hypertufa has a much rougher surface than cement or concrete, but it is much lighter and it also makes a good growing surface for moss.

Here are some of the other supplies I knew I'd need.

A clean dishwashing bin to mix the tufa in

Kitchen utensils for mixing and smoothing the surface (these will be dedicated for use with concrete and cement)

A silicone cupcake pan for making star shapes

Water, Pam and rubber gloves

A small cake pan to push into the mix to make a depression for the birdbath

Half marbles to make a mosaic design along the edges.

I dumped the dry hypertufa mix into the dishpan, and then gradually stirred water into it. I might have used a little too much water. The instructions said it should look like wet cookie dough, and should hold together when you squeeze a ball of it in your hand. It did, but a little bit of water also ran out when I squeezed it.

Doesn't really look like cookie dough to me. Brownie batter maybe.

I might have made it a little too wet, the water tended to pool in spots when it sat for a few minutes.

I started out by filling one star shape in the silicone mold, and then sprayed a good amount of Pam all over the bottom and sides of the rectangular container that I was using to make the birdbath.

I used way more Pam than I would ever use for a cake. I am so afraid that when the time comes, the mold won't release it.

Then I started patting handfuls of mix into the bottom of the mold. It seemed the more I patted it, the more slushy it became. Water would rise to the surface. I pressed the bottom layer of mix all around the mold, patting it well into every corner like I would with a buttery crumb crust on a cheesecake. Then I put more on top of that, adding it in handfuls and patting it down.

Once it was at a level I wanted, I tried leveling it a bit with the offset spatula. Finally I sprayed the bottom of the cake pan, and pressed it down into the mix, trying to keep the pan as level as possible. To hold it down I piled rocks into it (I had read that without a weight to hold it down, the mix might push the pan up as it dried.)

I tried adding the little half marbles around the edges, but the mix was so wet that they started to slip too far into it, under the surface. So I fished them out. I'll maybe try adding them after it dries, with some kind of adhesive.

I ended up with way more than I needed for the birdbath mold. I filled up all the rest of the star shapes in the silicone cupcake pan.


The birdbath in the book had a heart-shaped ornament balanced on the edge. But I'm not really a hearts/unicorns/rainbows kind of gal. I'm more into sci-fi/fantasy/swords and sorcery, so stars made more sense.

I still had even more mix to use up. Good thing I had been gathering a few other things to use as molds. The other day at the thrift store I picked up these little loaf pan things, and some votive holders. I sprayed them with Pam, plopped in some more mix, and then sprayed the bottoms of the votives with Pam and pushed them into the mix. I'm not real sure what I will use these for when they are done (provided they turn out usable). Maybe they'll hold a chunk of moss, or some little sedums or succulents. Or maybe I'll put a votive candle in them!


The last bit of mix went into one half of a cake mold, designed for making round cakes decorated like balls used for sports.


Into the middle of that I pushed a little silicone cupcake mold.

I finished up by pouring water into the dishpan and rinsing it out outside in the driveway. Never, ever wash utensils used for concrete or cement in your kitchen or bathroom sink, it could plug up your plumbing. I cleaned the utensils and my gloves in more water in the dishpan, which I then dumped outside.

I put all of the filled molds into large black trash bags, and pulled the drawstrings shut and folded them over. They will take 48 hours to dry to the point where I can unmold them.


I can't wait to see how they turn out! Can you?